Push Notifications & Email Tools
Content on your site and in your app is half the story — the VXE also sends messages to your customers: push notifications to their phones, and AI-generated email subject lines for your campaigns.
Before push notifications can be sent, a push service must be configured, activated, and selected as your preferred service — a one-time technical setup handled by your developer or the BILDIT team. If the steps below don't work in your VXE, that setup is the first thing to check. (Technical reference: Push Notifications.)
Send a push notification now
- On the Sidebar Menu, select Push Notifications.
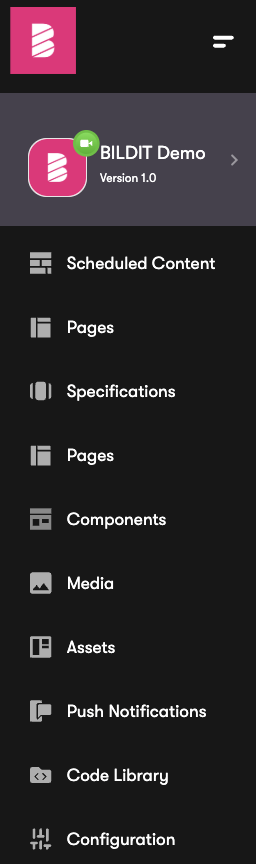
- Click Add New.

- Fill in the Create Push Notifications form — your message title, text, and audience.
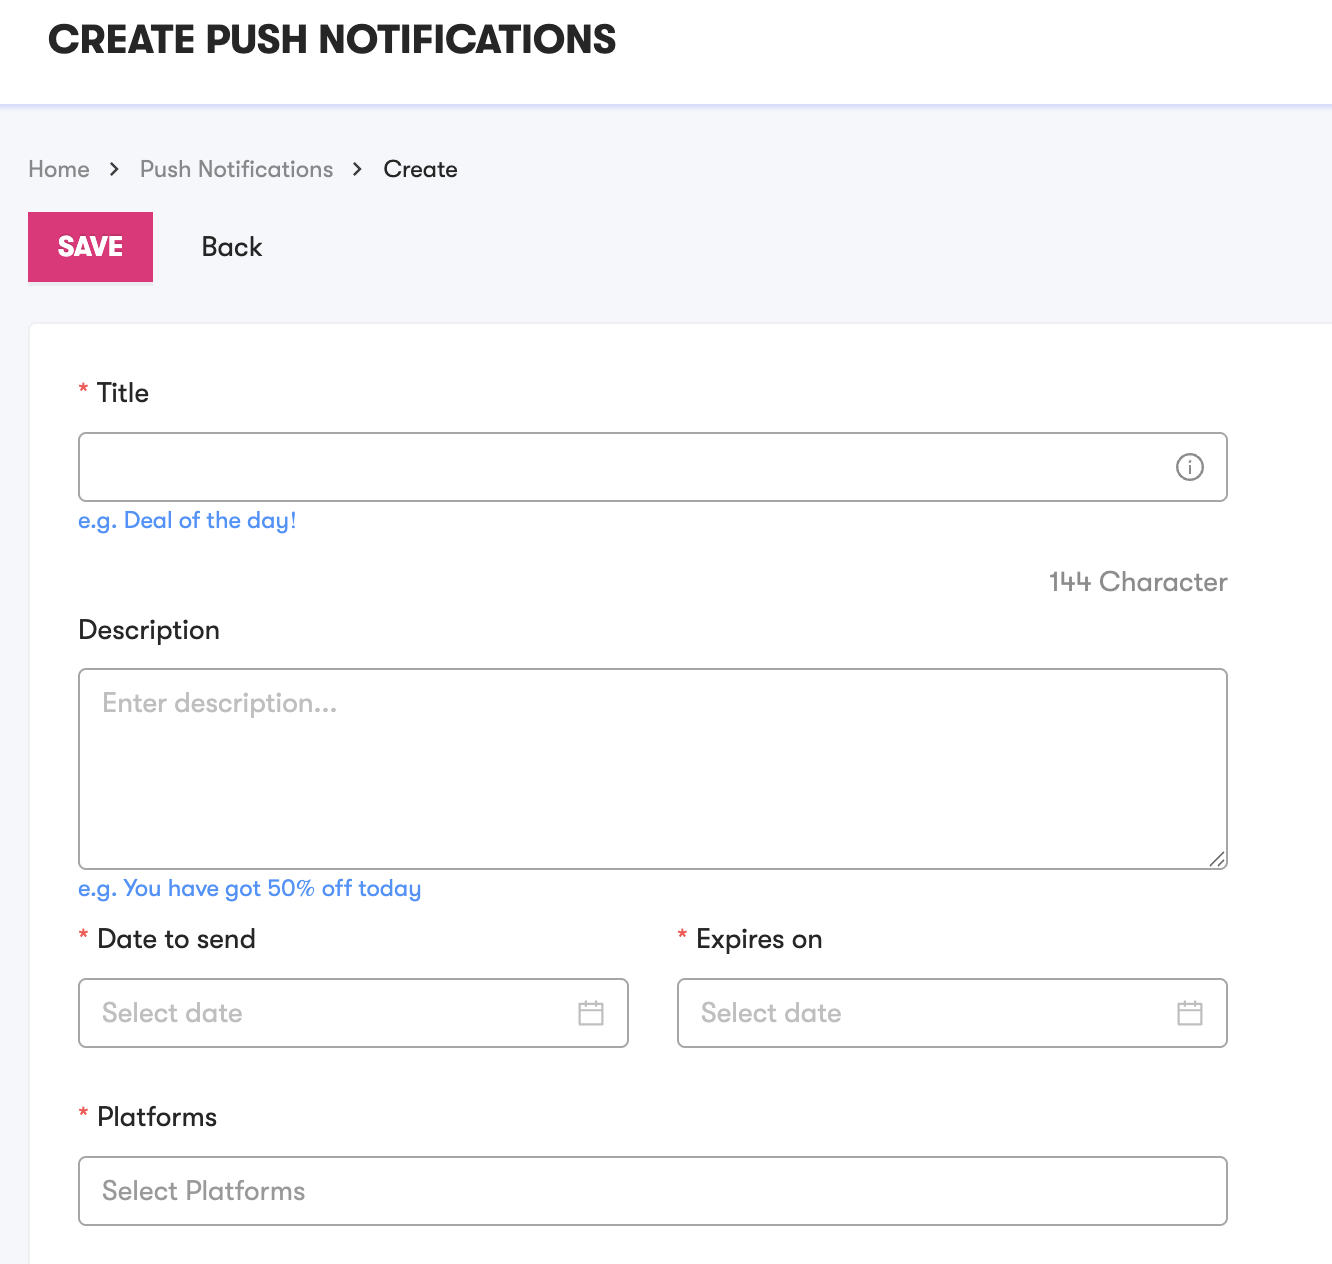
- For the Date, choose Now.
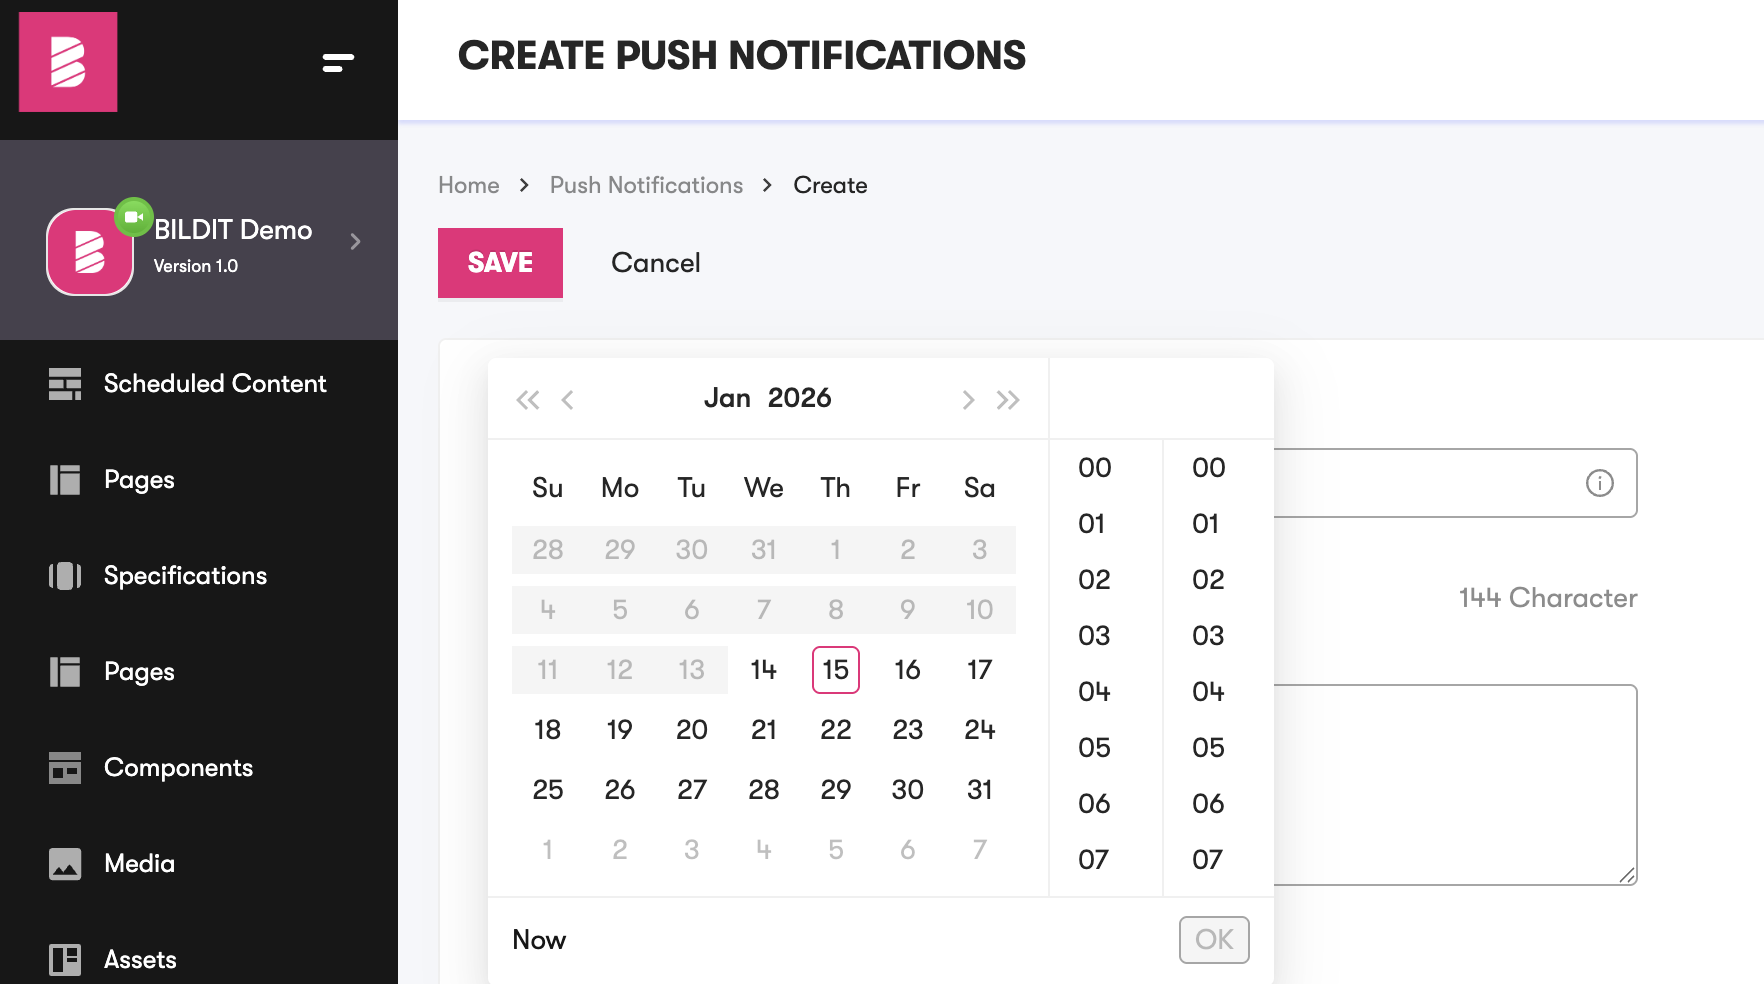
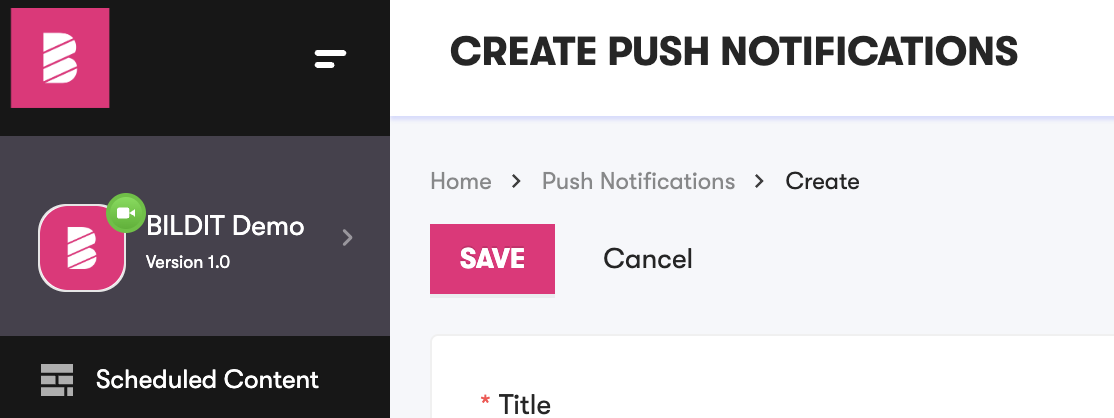
- Click Save — your notification sends immediately.
Schedule a push for later
Same flow — the only difference is the Date step: instead of Now, pick the exact date and time the notification should go out, then Save. Time it for when your audience is awake and your campaign is live.
Scheduling a push for the same minute your scheduled content goes live is the classic combo: the content appears, the push announces it, customers tap straight into it.
Make a push open a specific screen
Fill in the Page Deep Link field with one of your app's configured deep links, and tapping the notification takes the customer straight to that screen — a product page, a sale category, a landing page — instead of just opening the app.
Your app's valid deep links are set up by your developer — ask them for the list of destinations you can target.
Generate email subject lines with AI
The VXE includes an AI generator for email subject lines and pre-headers, tuned for retail marketing:
- In the sidebar, open Copy → Create Email Subject-Lines.
- Describe your campaign in the Subject Line/Pre-header Prompt, optionally add Brand Names and a Tone, toggle Include Emoji, and choose how many options you want (1–20).
- Click Generate.
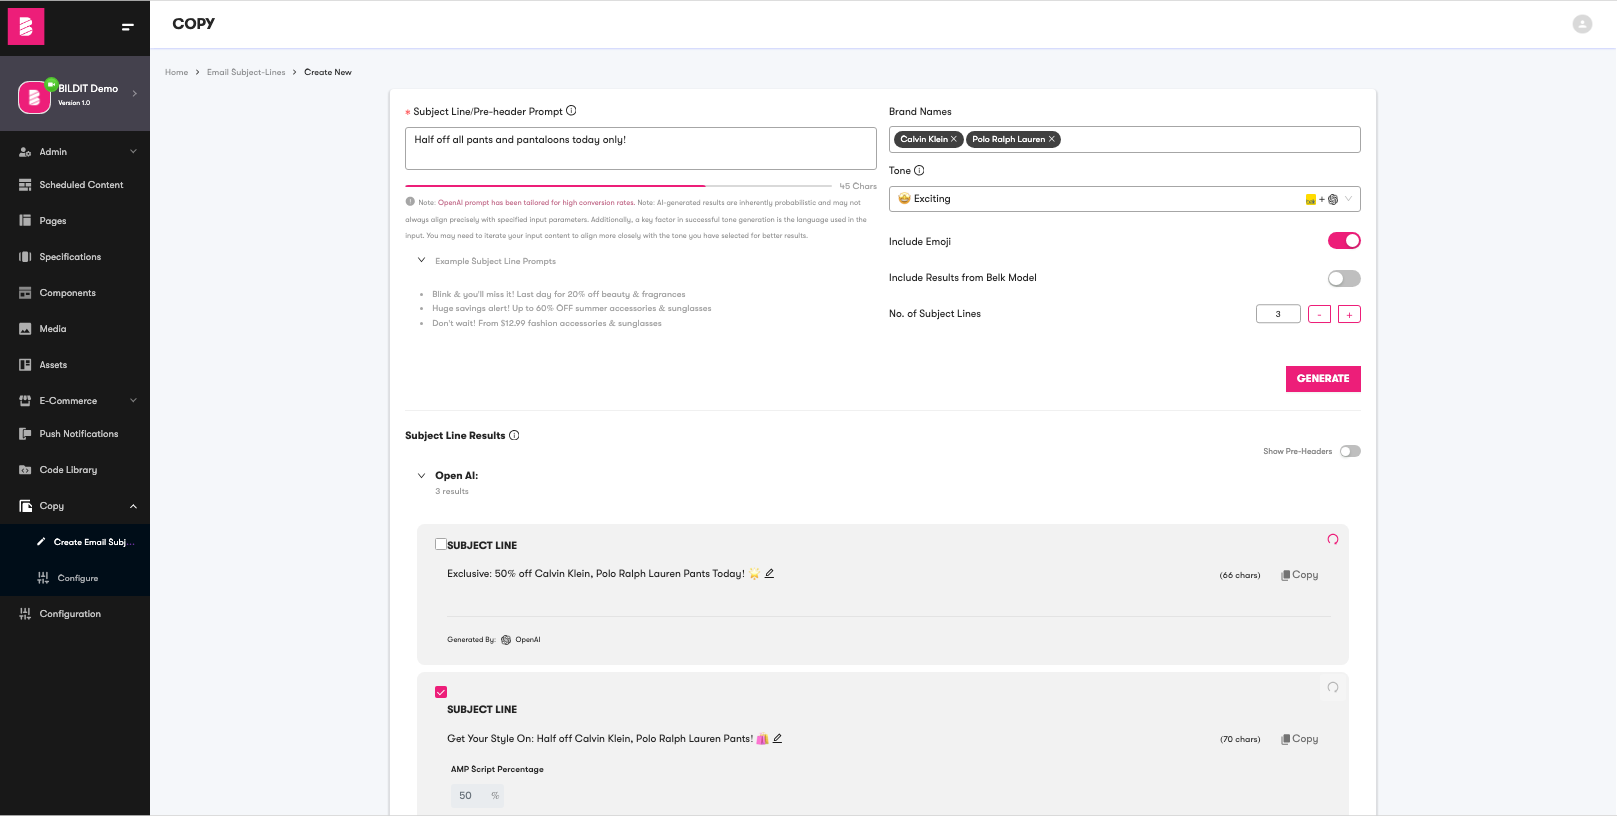
Each result shows a subject line (with optional pre-header) and live character counts — the generator targets the 41–64 character sweet spot for subject lines. You can edit any result inline, Copy the ones you like, or Refresh an individual row for a new take.
Built-in guardrails handle the details marketers usually have to police by hand: blocked words appear struck through, trademark symbols are preserved, and brand names follow AP style. Still give the final copy a human read before it ships.
Related technical docs
- Send a push · Schedule a push · Deep-link a push
- Push Notifications overview — service setup (developer-side)
- Email Subject Line Generator — full feature reference