Urban Airship
Requirements
- You can create or login to an account of your airship profile in the link below :
- You will also need a Firebase Account to use Server Key and Sender ID to create an app on Airship platform.
Creating a project on Airship
To create a project on airshp you need to login to your account or create an airship if you dont have an account yet.
- On login click Create Project
- On the form screen that open up
- Enter the Project name
- Select Icon for you project
- Select Type of the project either Live or Test
- Choose Industry then Sub-industry
- Click on Create Project after finishing filling all the details
Add Platform
To send push notification you need to add the platforms that you are going to send push notification or in-app-messages.
Android Platform
- Go to Settings
- Select Mobile Apps on the Channels card.
- Select Android
- Add the Firebase Cloud Messaging (FCM) details that is:
- Google Firebase server key
- Google Firebase package name
- Click on Add Android and you will be notified upon successfully adding the FCM.
iOS Platform
- Go to Settings
- Select Mobile Apps on the Channels card.
- Select iOS
- Click on Edit on the Certificate-based Authentication
- Enter Certificate password and upload Certificate.
This are the apple APNs certificate that you are required to create. See this link to see how create one
- On finishing click on Save
Getting APP KEY and MASTER SECRET
- Open the app that you wish to get the App Key on the Airship after login the account
- Click on Settings
- On the right side of the sreen there is a Product details section Click on Click to reveal button the MASTER SECRET and SECRET
- You can now obtain all the details that are required to configure push notification on the mobile app.
- App Key
- Master Secret
- Secret
Set up Airship on mobile
For airship you would need to install urbanairship-react-native
# using yarn
yarn add urbanairship-react-native

# using npm
npm install urbanairship-react-native --save
Android Setup
- Compile and Target SDK Versions:
- Urban Airship now requires
compileSdkversion 31 (Android 12) or higher. Please update thebuild.gradlefile
- Urban Airship now requires
android {
    compileSdkVersion 31

    defaultConfig {
        minSdkVersion 21
        targetSdkVersion 31

        // ...
    }
}
- Java 8 Source Compatibility:
- Urban Airship now requires Java 8 language features across all SDK modules.
- Please update Android Gradle Plugin to version
3.0.0or higher and change the source and target compatibility for each module that uses Airship SDKs:
android {
    compileOptions {
        sourceCompatibility JavaVersion.VERSION_1_8
        targetCompatibility JavaVersion.VERSION_1_8
    }
}
- Modules using Kotlin will also need to set the target version of the generated JVM bytecode:
tasks.withType(org.jetbrains.kotlin.gradle.tasks.KotlinCompile).configureEach  {
    kotlinOptions {
        jvmTarget = JavaVersion.VERSION_1_8
    }
}
- Create the
airshipconfig.propertiesfile in the application'sapp/src/main/assets:
developmentAppKey = Your Development App Key
developmentAppSecret = Your Development App Secret
productionAppKey = Your Production App Key
productionAppSecret = Your Production Secret

# Notification customization
notificationIcon = ic_notification
notificationAccentColor = #ff0000
iOS Setup
- Install pods
cd ios && pod install
-
Add the following capabilities for your application target: Push Notification Background Modes > Remote Notifications
-
Create a plist
AirshipConfig.plistand include it in your application’s target:
<?xml version="1.0" encoding="UTF-8"?>
<!DOCTYPE plist PUBLIC "-//Apple//DTD PLIST 1.0//EN" "http://www.apple.com/DTDs/PropertyList-1.0.dtd">
<plist version="1.0">
<dict>
  <key>developmentAppKey</key>
  <string>Your Development App Key</string>
  <key>developmentAppSecret</key>
  <string>Your Development App Secret</string>
  <key>productionAppKey</key>
  <string>Your Production App Key</string>
  <key>productionAppSecret</key>
  <string>Your Production App Secret</string>
</dict>
</plist>
- Optional. In order to take advantage of iOS 10 notification attachments, such as images, animated gifs, and video, you will need to create a notification service extension by following the guide:
Enabling Notifications
Notifications by default are disabled to avoid prompting the user for permissions at an inopportune time. For testing purposes, you probably want to enable Notifications immediately to verify push is working:
Note: Push notifications are not supported on iOS simulators.
import {
  UrbanAirship,
  UACustomEvent,
} from 'urbanairship-react-native'

...

export default class Sample extends Component {
  constructor(props) {
    super(props);
    UrbanAirship.setUserNotificationsEnabled(true);
  }

  ...
}
Configuring Airship in BILDIT-Visual Experience Engine
Adding Config for Airship
From BILDIT-Visual Experience Engine go to:
- Go to Configuration from the side Menu
- Select Push Notification Config tab
- If you don't have the service configurations available you may select Create Push Service.
- Select Urban Airship on the Service you would like to add configuration
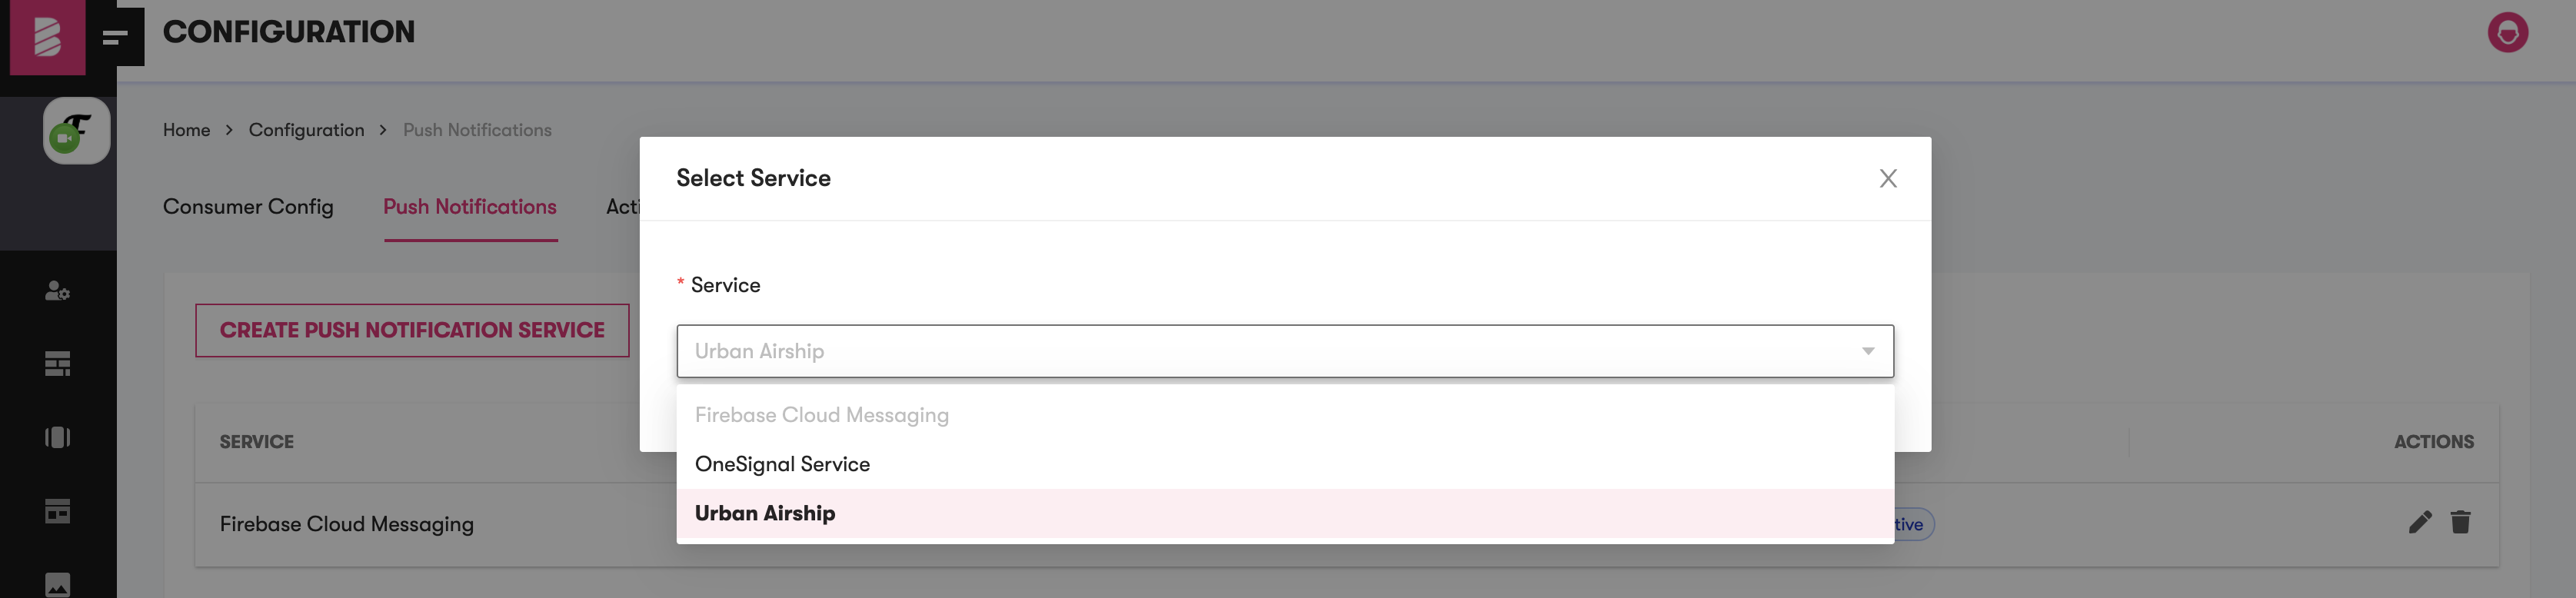
If you already have the push service configuration for the Airship, it is disabled in the dropdown list. You can either edit the current Urban Airship configurations from list or delete and add new Urban Airship configuration.
- On Selection of the service, enter the App Name as the Project Name, enter the App Messenger ID as Airship App Key and enter the App Messenger Key as the Master Secret. Airship App Key and Master Secret are copied from earlier config.
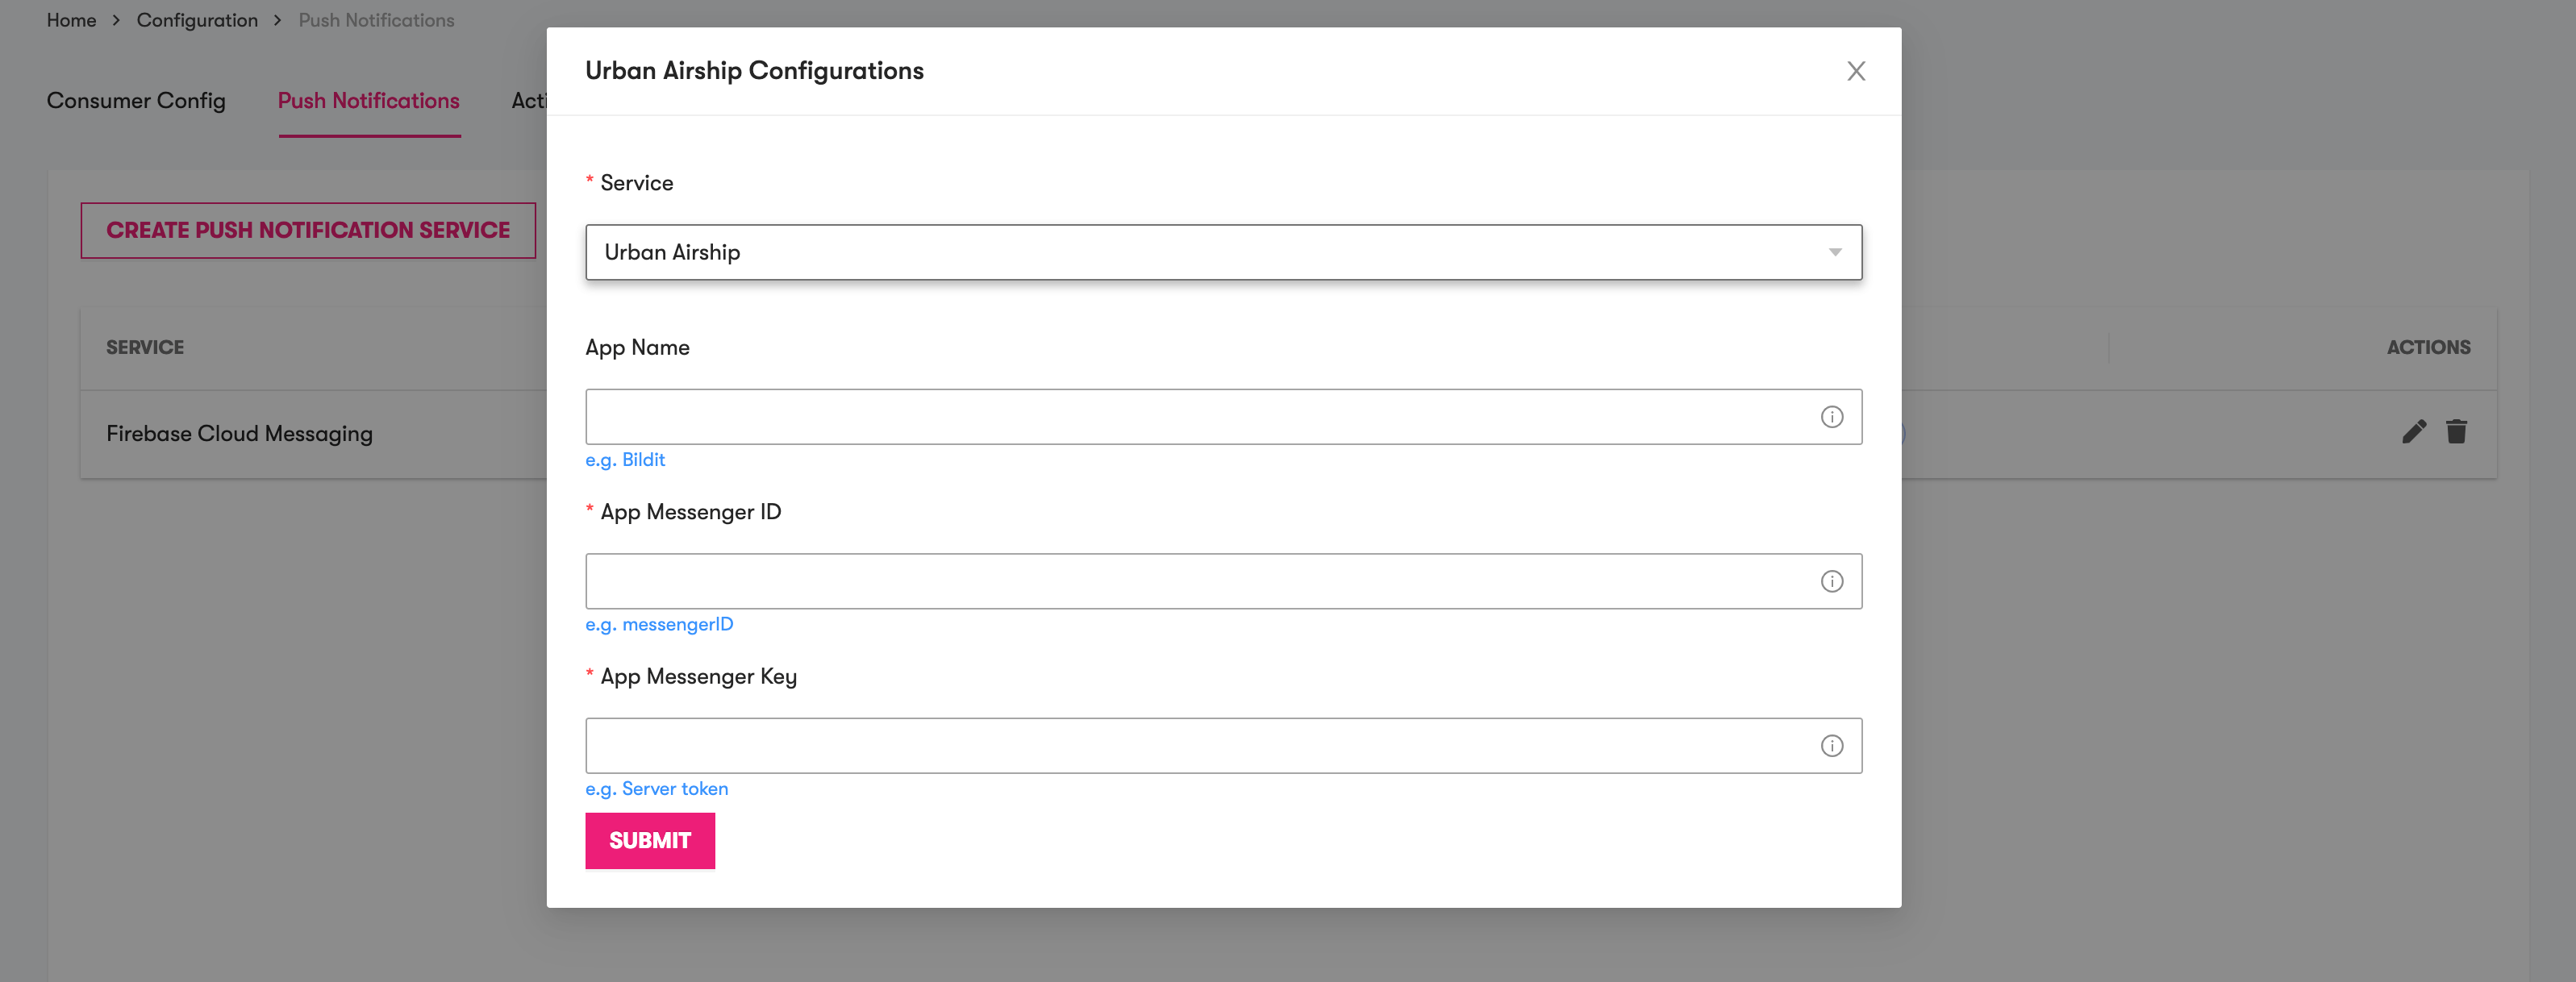
- On success, the configuration is added

Make sure that configuration is active if you have multiple configurations to use the Urban Airship service
Editing Config for Airship
After following steps one and two above, if there is already an Urban Airship push service in the list
- To edit Push Service Configuration. Click on the pencil icon from Actions.

- Airship modal will pop up with the update fields
- Make the changes you would like to update.
- Click on Submit.
BILDIT-Visual Experience Engine allows ONLY ONE configuration per service to allow consistency for the app
Setting Active Push Service Configuration
If you have list of push services, e.g., Airship and FCM, or OneSignal, or both and Airship is not the active Push Service. In this case you would wish to set it as active.
- Click on
Set Activeand on success you would notice the change with active tag.
